It’s Halloween! What’s even more frightening? Tomorrow will be November! I just don’t know how time slips by so quickly.
Things I learned this weekend:
1) I miss Los Angeles.
2) I miss being in marching band an embarrassing amount.
3) I need to learn how to study faster.
In honor of Halloween earlier this week I made these cute chocolate cupcakes with candy corn decorations (I also failed at making buttermilk biscuits, but that’s a story for another time)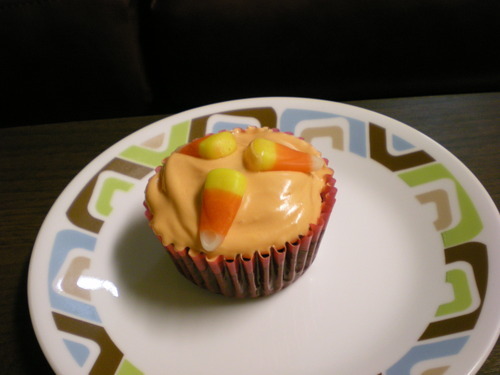
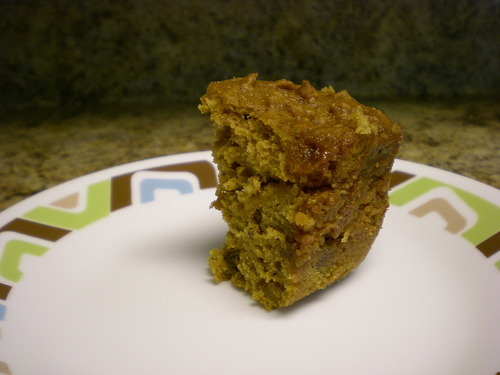
The chocolate cake recipe is a little bit more complicated than the standard toss everything in the bowl procedure, but the result is moist, wonderful, chocolate-y cake! The recipe is called “The Best Chocolate Sheet Cake. Ever.”, though I’ve never actually used it to make a chocolate sheet cake. For the frosting, we made cream cheese frosting and dyed it orange with food coloring.
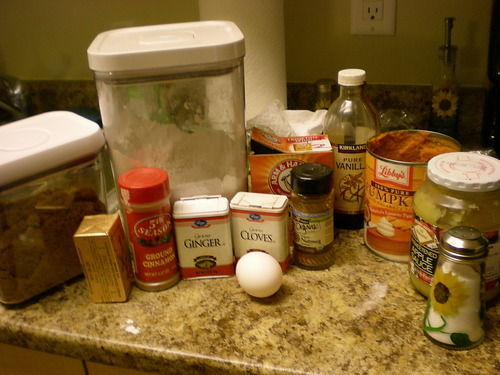
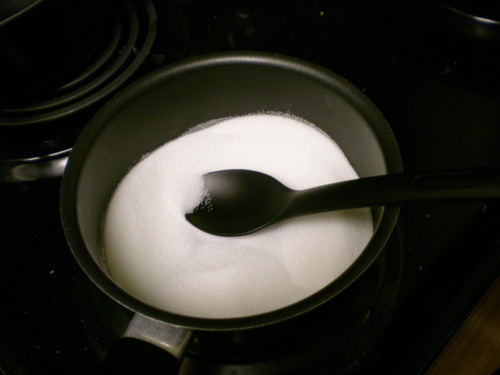
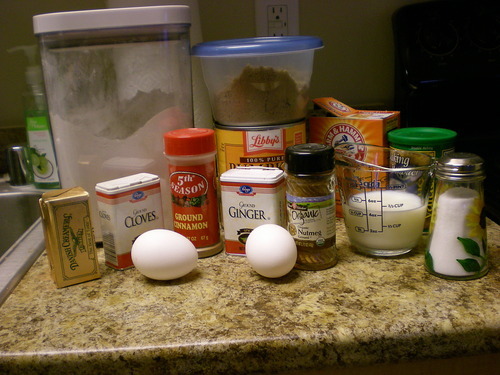
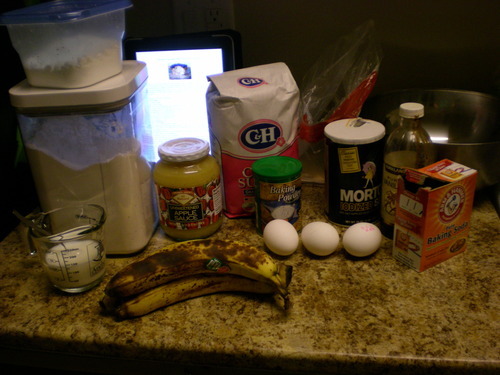
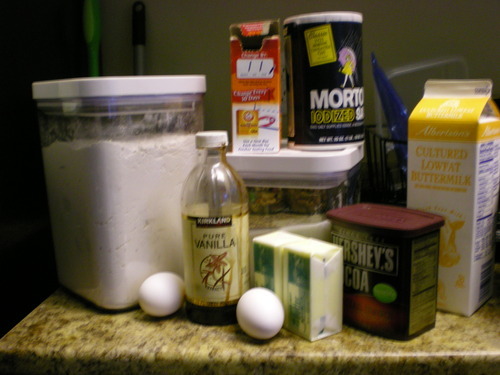
Gather up what you’ll need.
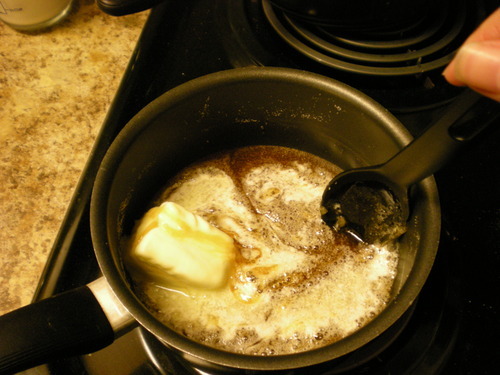
Melt the butter in a saucepan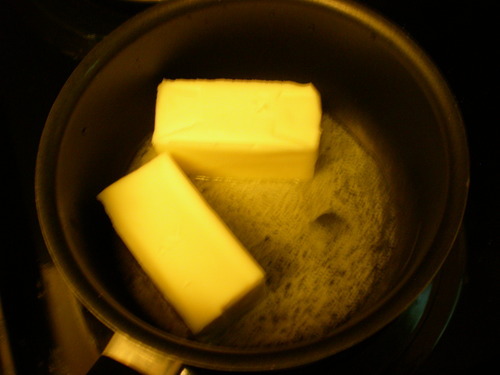
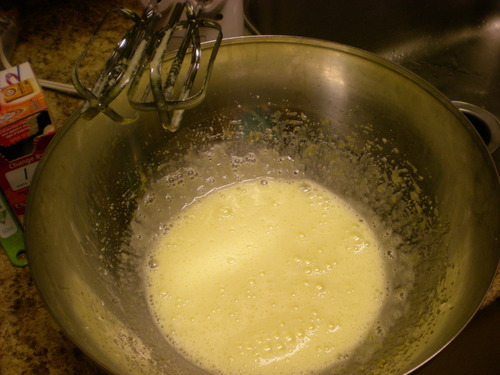
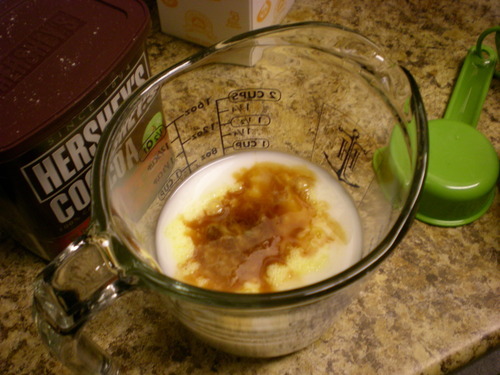
in a measuring cup, measure out the butter milk, add the beaten eggs, baking soda and vanilla
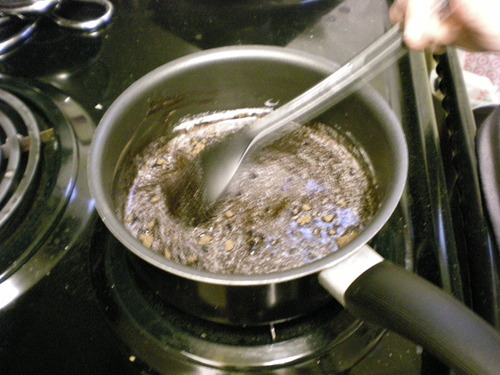
When the butter has melted, add the cocoa and stir together. Then add in the boiling water
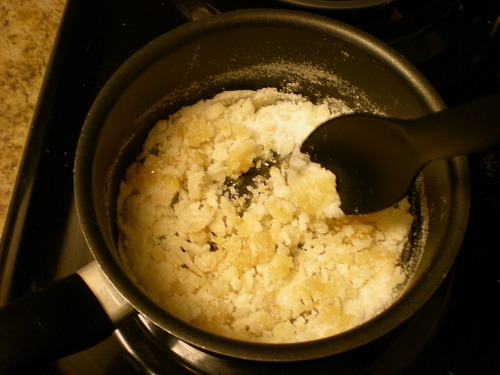
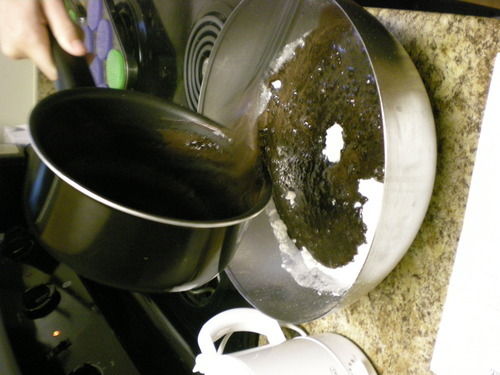
Pour this onto the dry ingredients
(sorry, can’t be bothered to rotate that right now)
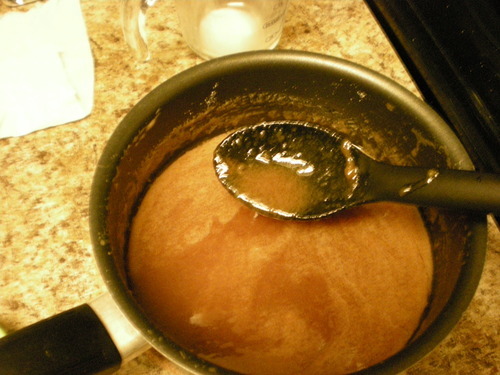
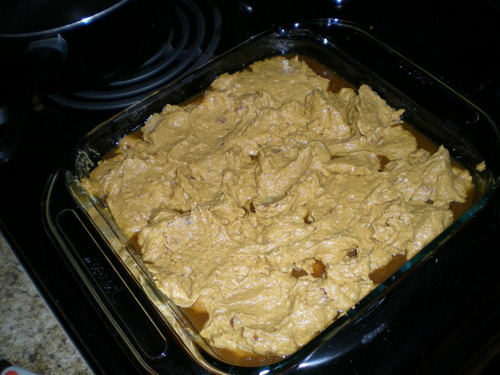
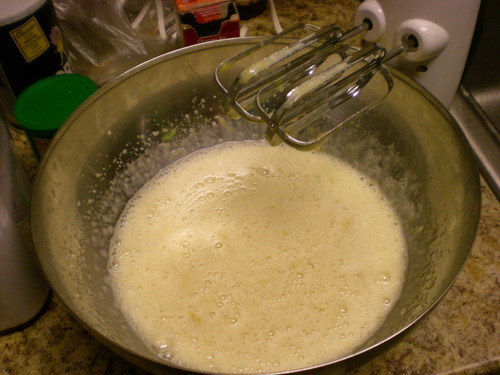
Stir the chocolate and flour mixtures together to cool then add in the buttermilk. stir and pour into prepared pan.

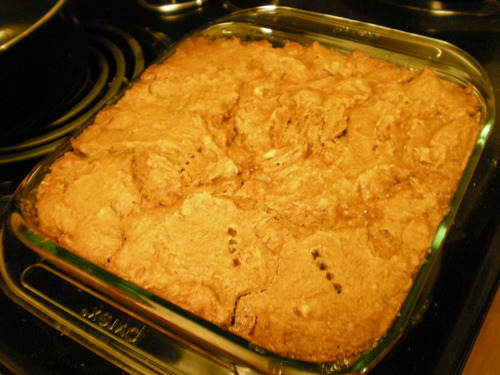
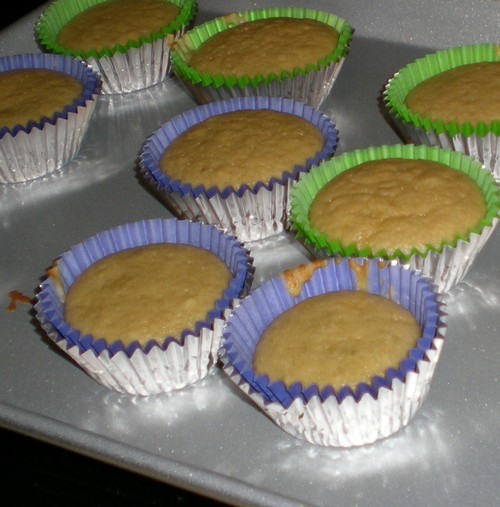
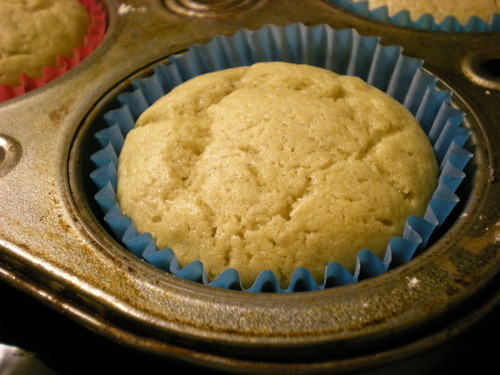
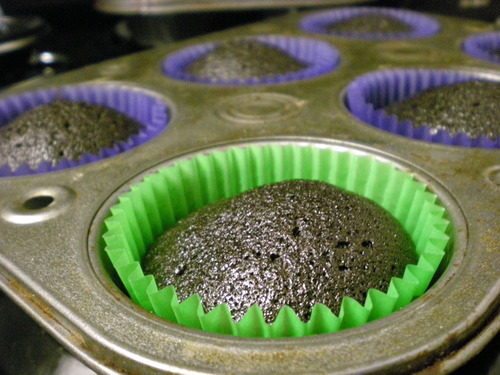
Bake for 20 minutes
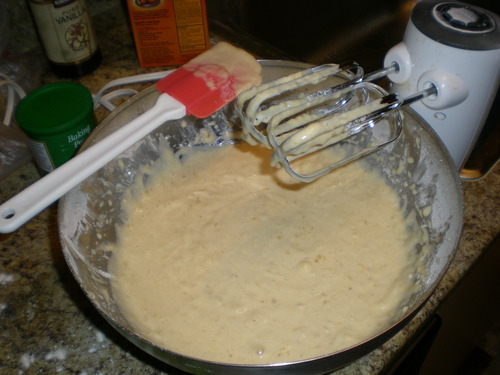
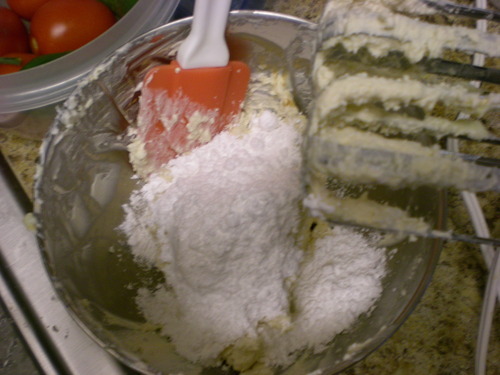
While those are cooling, whip up some cream cheese frosting. In a bowl combine cream cheese and butter. Then add in powdered sugar until it gets to the right consistency and taste.
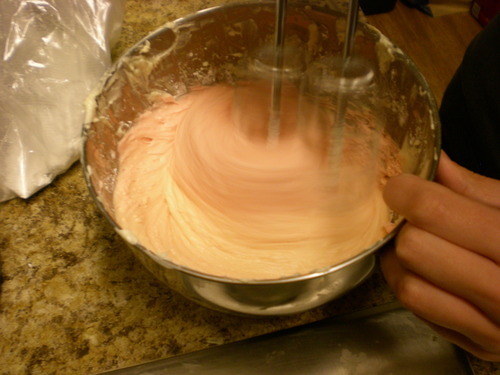
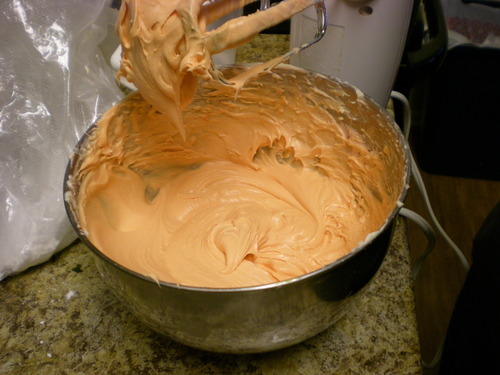
Then for the fun part—food coloring! A good orange color has two components: 1) lots of food color and 2) more yellow than red (the box recommends a 2:3 ratio…but just keep adding and mixing until you get the color you want)
Frost, decorate, and refrigerate! These cupcakes need to be stored in the fridge because of the cream cheese frosting which gets really soupy if it warms up.
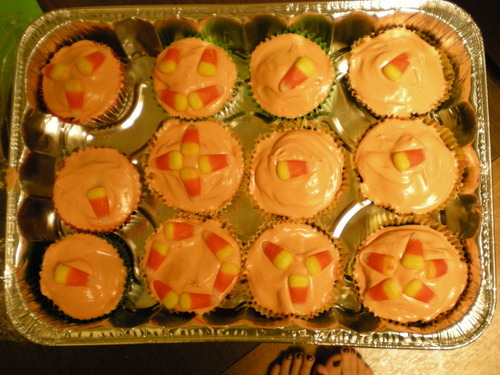
In the top row, second from the left….that’s a candy corn smiley face! Also, I apologize for getting my toes in the picture. oops!
For the cake:
Ingredients
For the frosting:
Ingredients
*I only added roughly 2 cups of powdered sugar
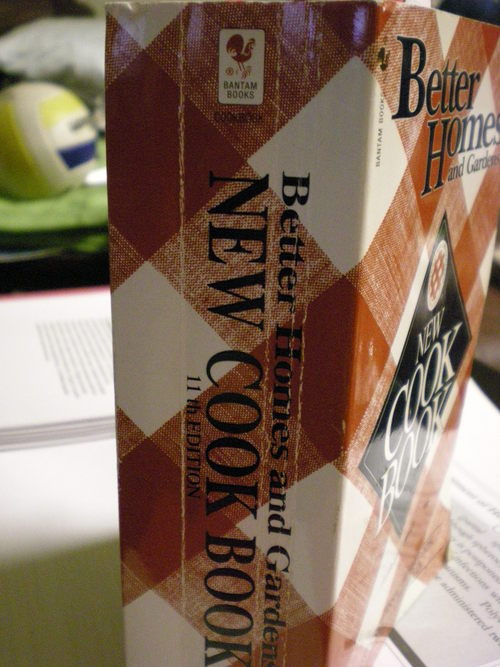
From: Better Homes and Gardens New Cook book, 11th ed
Things I learned this weekend:
1) I miss Los Angeles.
2) I miss being in marching band an embarrassing amount.
3) I need to learn how to study faster.
In honor of Halloween earlier this week I made these cute chocolate cupcakes with candy corn decorations (I also failed at making buttermilk biscuits, but that’s a story for another time)
The chocolate cake recipe is a little bit more complicated than the standard toss everything in the bowl procedure, but the result is moist, wonderful, chocolate-y cake! The recipe is called “The Best Chocolate Sheet Cake. Ever.”, though I’ve never actually used it to make a chocolate sheet cake. For the frosting, we made cream cheese frosting and dyed it orange with food coloring.
Gather up what you’ll need.
Melt the butter in a saucepan
in a measuring cup, measure out the butter milk, add the beaten eggs, baking soda and vanilla
When the butter has melted, add the cocoa and stir together. Then add in the boiling water
Pour this onto the dry ingredients
(sorry, can’t be bothered to rotate that right now)
Stir the chocolate and flour mixtures together to cool then add in the buttermilk. stir and pour into prepared pan.
Bake for 20 minutes
While those are cooling, whip up some cream cheese frosting. In a bowl combine cream cheese and butter. Then add in powdered sugar until it gets to the right consistency and taste.
Then for the fun part—food coloring! A good orange color has two components: 1) lots of food color and 2) more yellow than red (the box recommends a 2:3 ratio…but just keep adding and mixing until you get the color you want)
Frost, decorate, and refrigerate! These cupcakes need to be stored in the fridge because of the cream cheese frosting which gets really soupy if it warms up.
In the top row, second from the left….that’s a candy corn smiley face! Also, I apologize for getting my toes in the picture. oops!
For the cake:
Ingredients
- 2 cups flour
- 2 cups sugar
- 1/4 tsp salt
- 4 tbsp (heaping) unsweetened Cocoa (I used dark chocolate, but you can use whatever kind you happen to have around/find in the store)
- 1 cup butter
- 1 cup boiling water
- 1/2 cup buttermilk
- 2 whole eggs, beaten
- 1 tsp baking soda
- 1 tsp vanilla
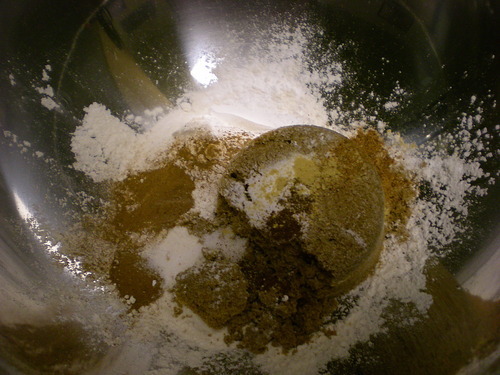
- In a heat-resistant mixing bowl combine flour, sugar and salt
- In a saucepan, start melting the butter. At this point it’s a good idea to get 1 cup boiling water ready to go as well
- While the butter is melting, pour the buttermilk into a measuring cup, beat the eggs and add them to the butter milk. Also add baking soda and vanilla to this.
- When the butter has melted, add the cocoa. Stir together then add the boiling water. Allow this to boil for 30 seconds, then turn off heat (or if you have an electric stove remove it from the burner).
- Pour over the dry ingredients and stir lightly to cool
- Add in the buttermilk and egg mixture and stir it in.
- Pour into a sheet cake pan/cup cake pan(s) and bake at 350 F for 20 min
For the frosting:
Ingredients
- 6 oz cream cheese, softened (unnecessary if you use spreadable variety)
- 1/2 cup butter or margarine, softened
- 2 tsp vanilla
- min. 2 cups powdered sugar
*I only added roughly 2 cups of powdered sugar
From: Better Homes and Gardens New Cook book, 11th ed